Misla

Drawer divider, made to measure

Measure the inside of your drawer and the thickness of its sides, and we will cut a divider that runs from side to side and hangs from a clip at each end: the clip sits on the top edge of the side and reaches a little way down the outside. No screws and no glue. It prints lying flat with no supports.
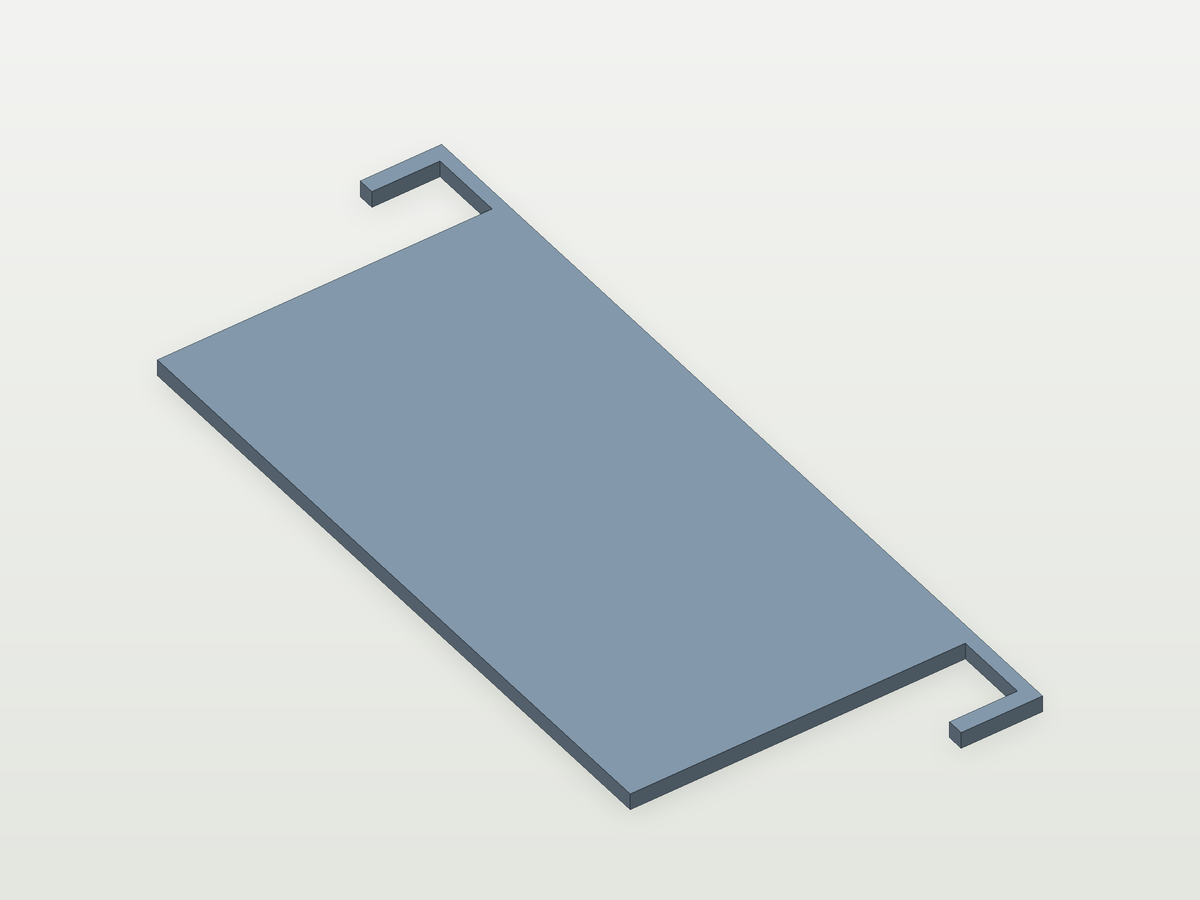
Drawer divider, made to measure
Rendered at our default measurements — yours comes out to your numbers.
What you need before you start

What it will take

  • Inside width of the drawer: 40–240 mm
  • Inside height of the sides: 25–150 mm
  • Thickness of the sides: 1.5–25 mm
  • Divider thickness: 2–6 mm
  • Nozzle size: 4 to choose from
  • Filament: 4 to choose from

As it comes

Divider, wide119 mm
Divider, tall61.4 mm
Slot in each clip13.1 mm
Filament, at most (printed solid)28 g

Build plate: 152 mm as it comes, never more than 256 mm.

What you need to hand

  • A ruler or tape for the inside width of the drawer and the inside height of its sides.
  • A calliper for the thickness of one side, across its top edge.
  • A look at the room above and beside the drawer: the clips stand 2.4 mm above the sides and run down the outside.
  • Your nozzle size and the filament you will print it in.
Your drawer

Measure the inside of the drawer at the spot where the divider will go, and the thickness of one side across its top edge with a calliper.

mm
From the inside face of one side of the drawer to the inside face of the other, measured where the divider will go.
mm
From the floor of the drawer up to the top edge of its sides, on the inside. The clips sit on that top edge.
mm
Measure across the top edge of one side with a calliper. The clip goes over it, so measure at the spot where the divider will sit.
The divider

How thick the divider is. The clearances and how far the clips reach down are under Finer adjustments.

mm
How thick the divider is. It prints lying flat, so this is also how tall it stands on the build plate.
The printer it will come off

Set these to the nozzle you will print with and the filament you will use; what is filled in is only our usual setting. The nozzle decides whether the walls come out the thickness we drew. The filament does not change the model: it only sets the weight estimate.

The nozzle you will print with. It does not change the model — it decides whether the walls come out the thickness we drew.
Sets the weight estimate. It does not change the model.
Finer adjustments
mm
How far each clip runs down the outside of the side, from the top. Keep it clear of the runners and anything else on the outside of the drawer.
mm
How much narrower than the inside of the drawer we draw the divider, in total. Half of it is left at each end.
mm
How much wider than the side we draw the slot in each clip. Looser goes on more easily, but the divider moves about more.
mm
How far above the floor of the drawer the bottom edge of the divider stays. The divider hangs from its clips.

More for around the home

  1. Over-door hook

    A hook that sits over the top of a door with no screws, cut to the thickness of your door and as far down as you want it.

    What you need A calliper for the thickness of your door, and a ruler for how far down you want the hook.

    Try your numbers

  2. End cap for a tube or pipe

    A plug or a cap for the open end of a tube, pipe or tubular leg, drawn from the diameter you measure.

    What you need A calliper for the inside or outside diameter of the tube.

    Try your numbers

  3. Desk edge cable clip

    A clip that slides over the edge of your desk and keeps one to four cables in round channels, cut to the thickness of your desk and your cables.

    What you need A calliper for the desk top and your thickest cable, and how many channels you want.

    Try your numbers

See all 11 in Around the home

Reviews

No reviews yet.

Reviews come from subscribers who have downloaded this part.