Misla

Spacer or washer, made to measure

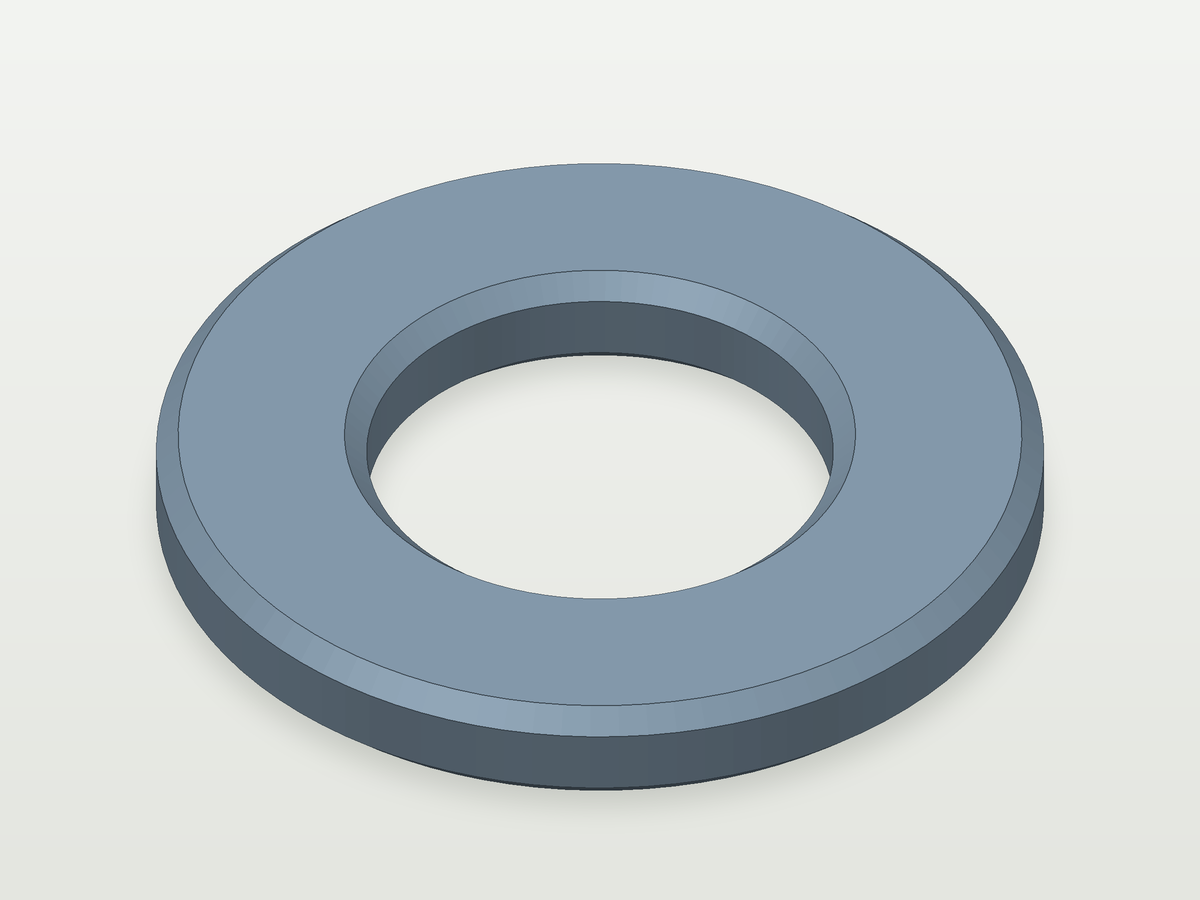
Measure the bolt or shaft it goes over and say how thick it needs to be, and we cut a round spacer for it: the hole drawn a little over your bolt so it slides on, the outside as wide as you ask, and a small bevel on the edges if you want one. It prints flat, with no supports.

Spacer or washer, made to measure
Rendered at our default measurements — yours comes out to your numbers.
What you need before you start

What it will take

  • Bolt or shaft diameter: 1–100 mm
  • Outside diameter: 4–200 mm
  • Thickness: 0.6–100 mm
  • Chamfer on the edges (0 for none): 0–5 mm
  • Nozzle size: 5 to choose from
  • Filament: 4 to choose from

As it comes

Hole, as drawn8.4 mm
Outside diameter16 mm
Thickness2 mm
Filament, roughly0.4 g

Build plate: 16 mm as it comes, never more than 256 mm.

What you need to hand

  • A calliper for the bolt or shaft it goes over.
  • How thick the spacer needs to be — the gap you want to fill.
  • The outside diameter you would like.
  • Your nozzle size and the filament you will print it in.
Your bolt and the gap

Two things only you can tell us: the bolt or shaft it goes over, measured with a calliper, and how thick the spacer has to be.

mm
Measure the bolt, rod or shaft that goes through, with a calliper, across the threads or the plain shank, whichever is bigger. We draw the hole bigger than this by the hole clearance.
mm
How thick the spacer is, along the bolt: the gap you want to fill.
The spacer

How wide it is across, and whether the edges get a bevel. If the ring round the hole comes out too thin, we say the smallest outside diameter that works.

mm
How wide the spacer is across. Pick what suits the job; if it leaves too thin a ring round the hole, we say the smallest that works.
mm
A 45° bevel on all four edges, inside and out. It takes off sharp edges, helps the bolt find the hole and keeps the first layer from flaring into the hole.
The printer it will come off

Set these to the nozzle you will print with and the filament you will use. The nozzle decides whether the ring and the layers come out the way we drew them; the filament only sets the weight estimate.

The nozzle you will print with. It does not change the model — it decides whether the ring and the layers come out the way we drew them.
Sets the weight estimate. It does not change the model.
Finer adjustments
mm
How much bigger than the bolt the hole is drawn. Printed holes come out a little small, so we need at least 0.25 mm; more slides on more easily but sits less centred.

More for the workshop

  1. Reducing bushing

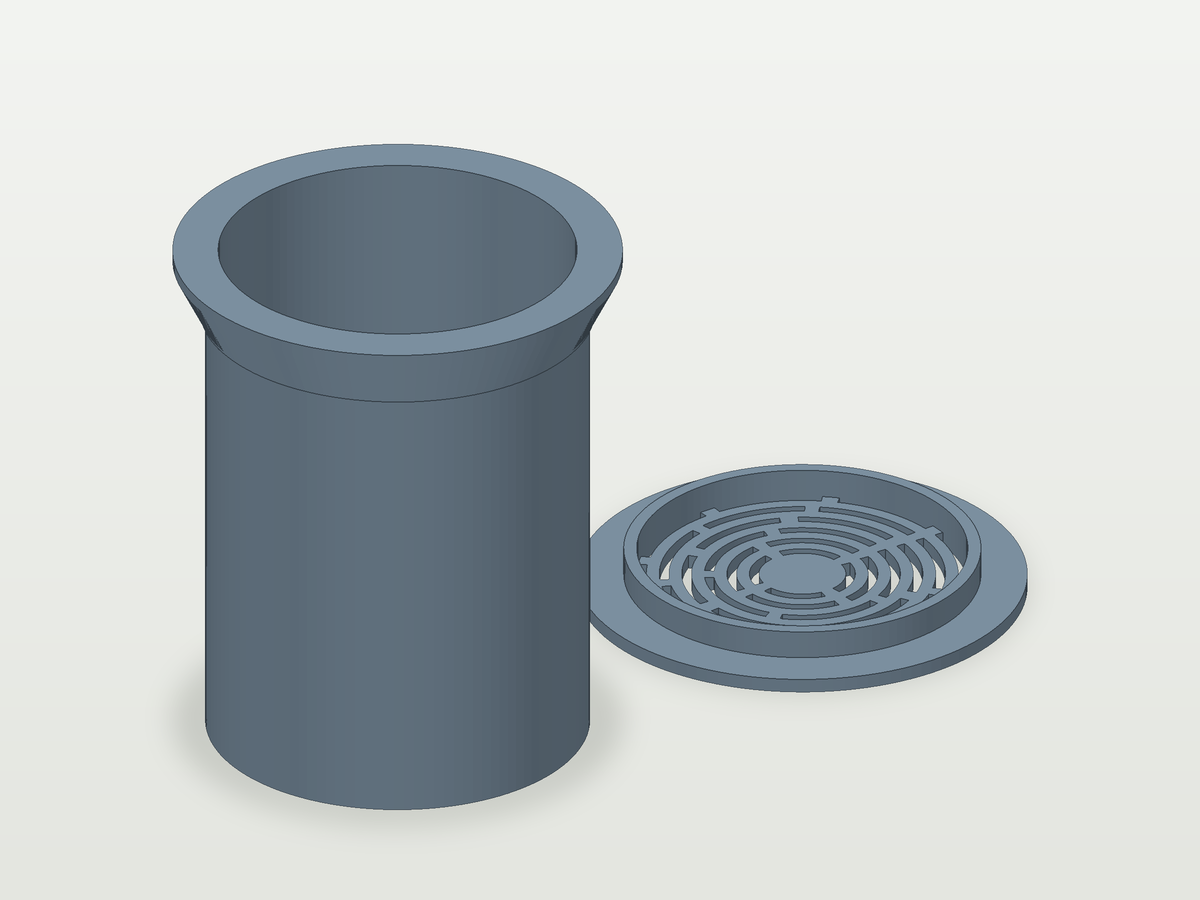
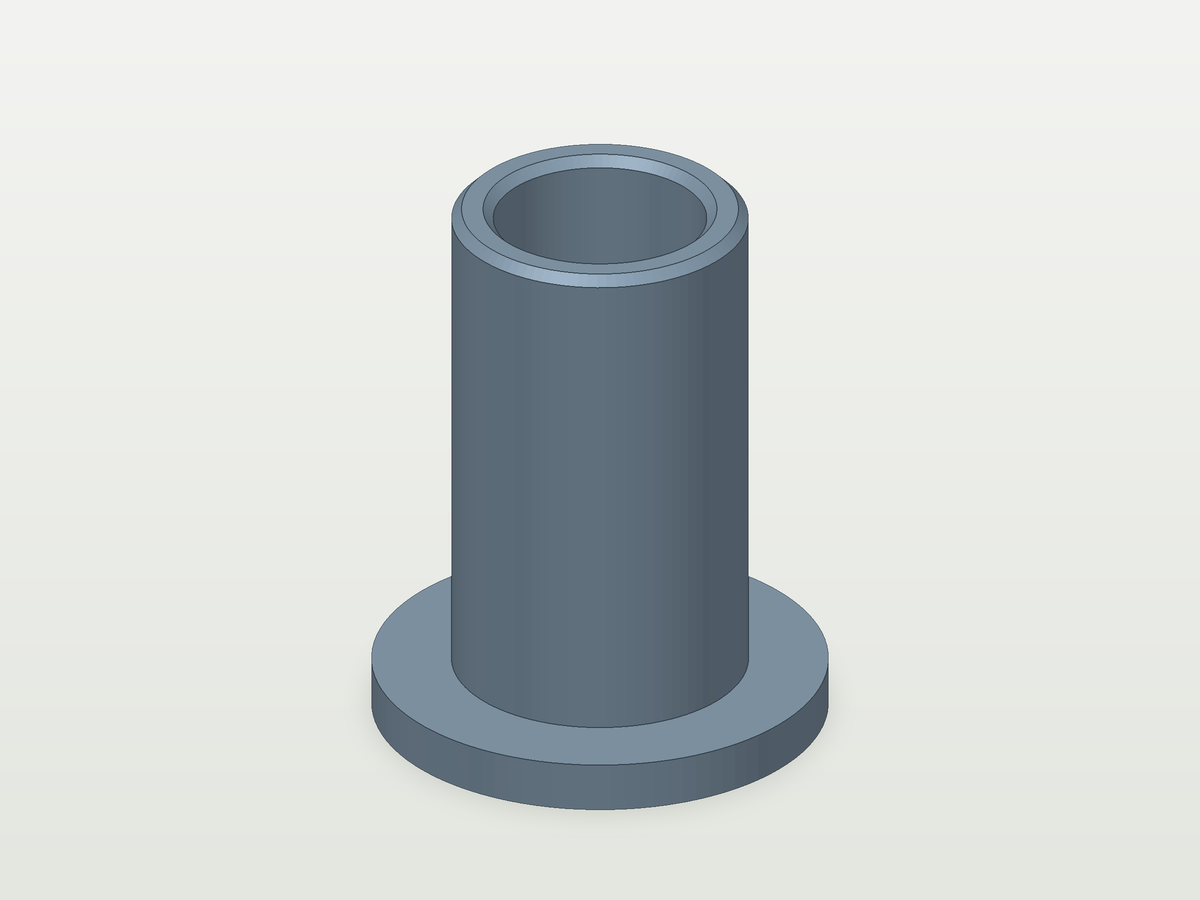
    A sleeve that fits your shaft into a bigger hole, cut to both sizes, with an optional flange.

    What you need A calliper for the shaft and the hole, and how far into the hole it goes.

    Try your numbers

  2. Desiccant core

    A silica-gel core for the hole in your spool, cut to the spool and to the beads you bought.

    What you need A calliper for the hole in the middle of the spool and the width of the spool beside it, and the bead size on your bag of silica gel.

    Try your numbers

  3. Remaining-filament gauge

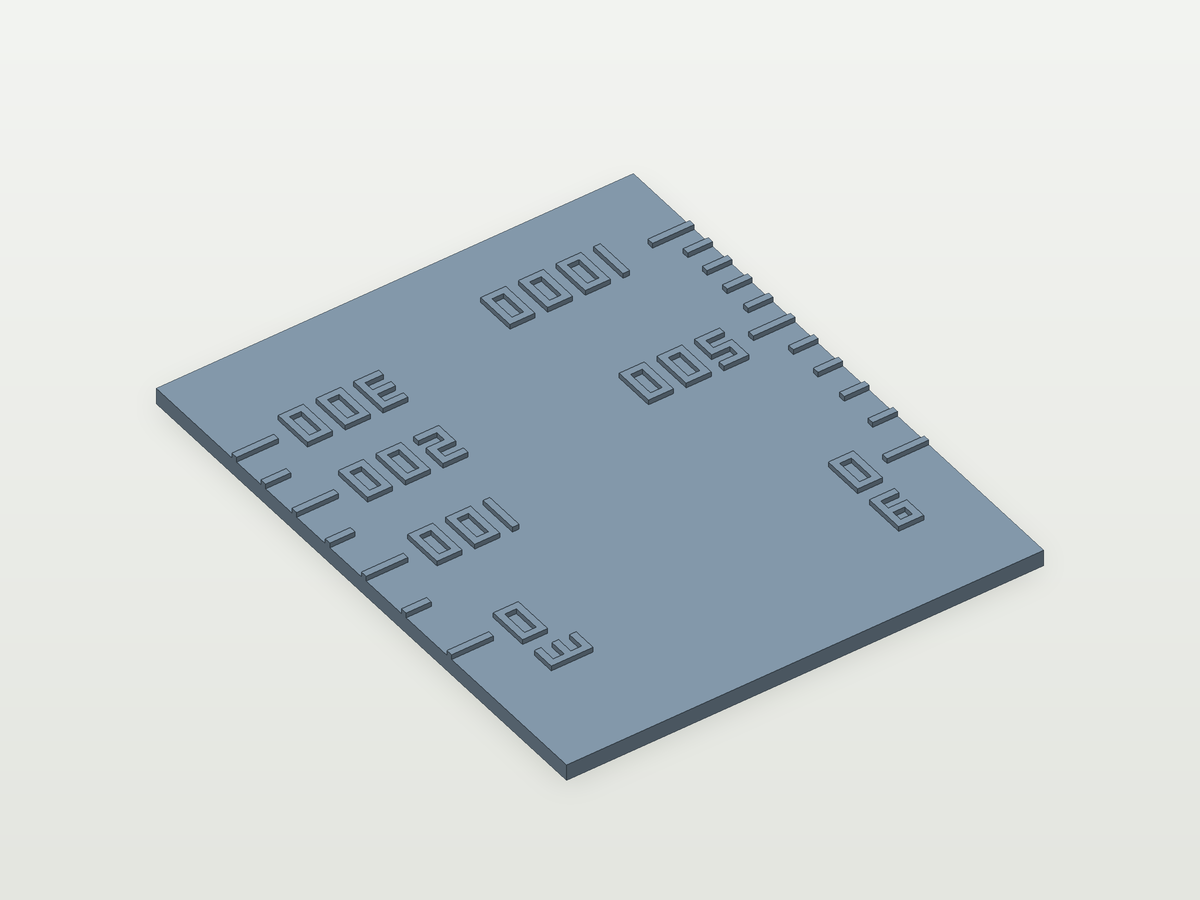
    A flat gauge that reads the grams and metres left on your spool, with a scale worked out from your spool.

    What you need A ruler or calliper for an empty spool, a new one and its label, and your nozzle size.

    Try your numbers

Similar parts: Spacers and bushings · Bolt or shaft

See all 13 in Workshop and filament

Reviews

No reviews yet.

Reviews come from subscribers who have downloaded this part.