Misla

Filament end clip, made to fit your spool

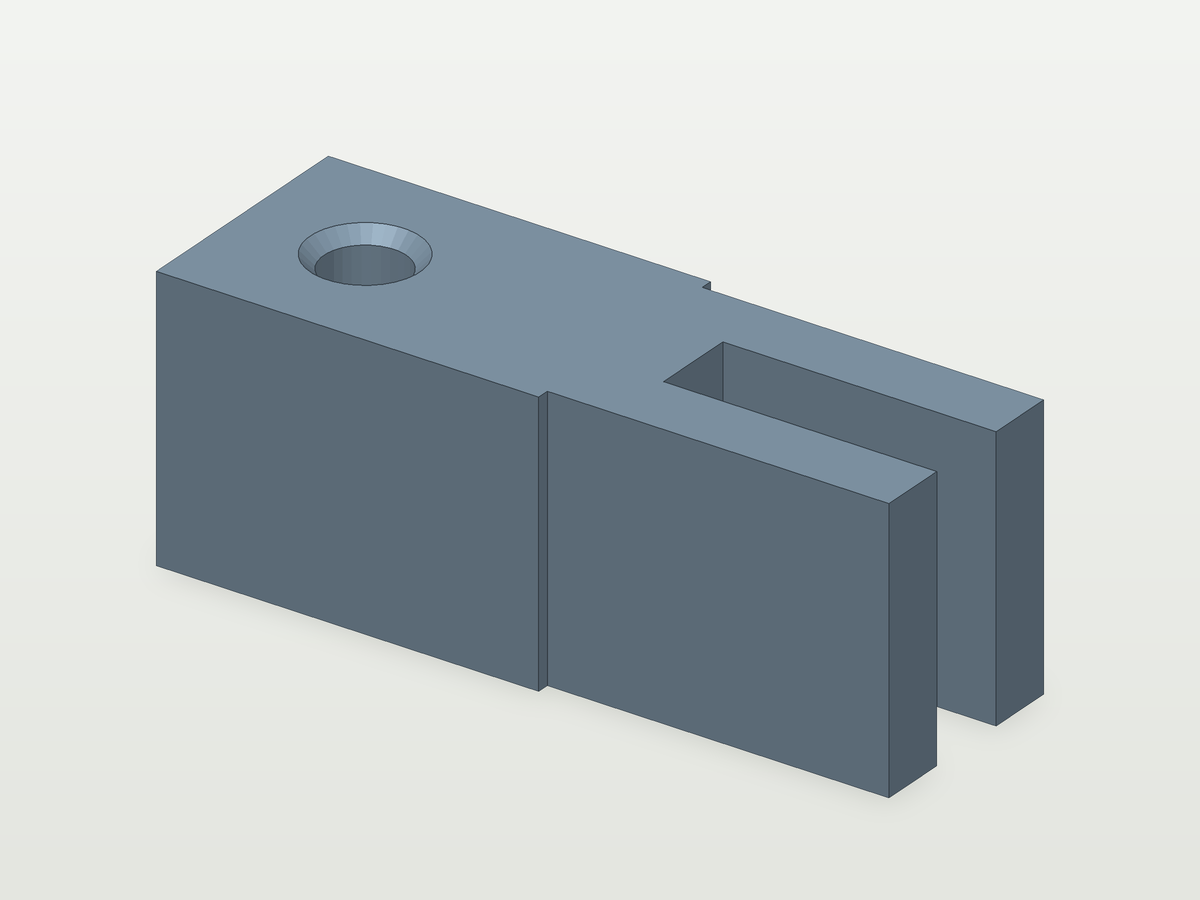
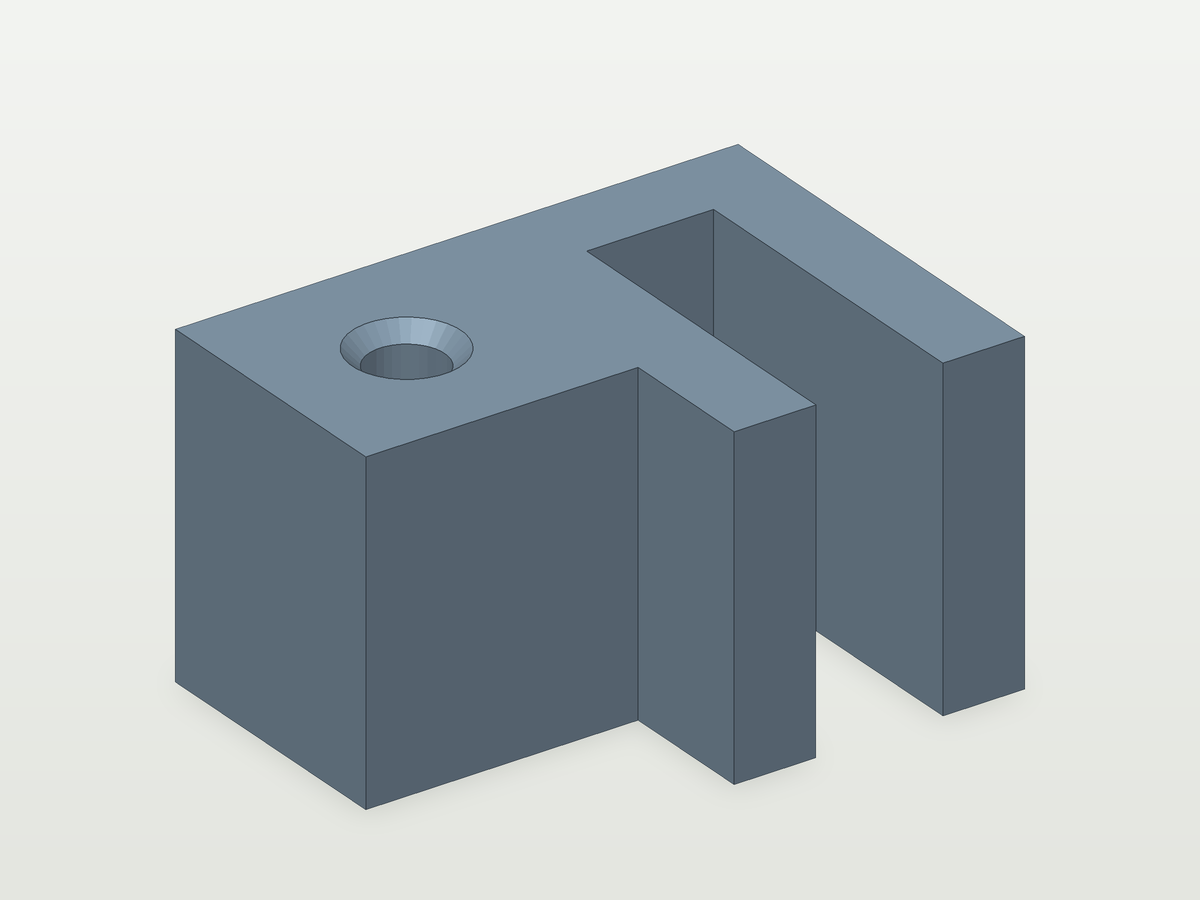
Measure the rim of your spool with a calliper and say which filament is on it, and we cut a small clip that pushes onto the rim, with a snug hole on the outside for the loose end of the filament. Push the end in and the spool stops unwinding on the shelf. It prints on its side, with no supports.

Filament end clip, made to fit your spool
Rendered at our default measurements — yours comes out to your numbers.
What you need before you start

What it will take

  • Spool rim thickness: 0.5–12 mm
  • Filament on the spool: 2 to choose from
  • Jaw length: 3–30 mm
  • Width along the rim: 3–30 mm
  • Wall: 1–5 mm
  • Nozzle size: 5 to choose from
  • Filament you print it in: 4 to choose from

As it comes

Gap for the rim, as drawn3.1 mm
Hole for the end, as drawn1.85 mm
Filament, roughly0.9 g

Build plate: 14 mm as it comes, never more than 256 mm.

What you need to hand

  • A calliper for the side of the spool, at its rim.
  • Which filament is on it: 1.75 or 2.85 mm.
  • Your nozzle size and the filament you will print it in.
Your spool

Two things only you can tell us: how thick the side of the spool is at its rim, measured with a calliper, and which filament is on it.

mm
Measure the side of the spool at its outer edge, where the clip goes, with a calliper. We draw the gap between the jaws to it, plus the fit clearance.
The filament whose loose end goes into the clip.
The clip

How far the jaws reach in over the side, how wide the clip is along the rim and how thick its walls are.

mm
How far the jaws reach in over the side of the spool, from its edge.
mm
How wide the clip is along the rim. It is also how tall it prints, lying on its side.
mm
How thick the jaws, the back and the ring round the filament hole are.
The printer it will come off

Set these to the nozzle you will print with and the filament you will print it in. The nozzle decides whether the walls come out the way we drew them; the filament only sets the weight estimate.
The nozzle you will print with. It does not change the model — it decides whether the walls come out the way we drew them.
Sets the weight estimate. It does not change the model.
Finer adjustments
mm
How much wider than the filament the hole is drawn. Printed holes come out a little small, so 0.1 mm gives a snug push-in fit; the hole is meant to be close, not loose.
mm
How much wider than the rim the gap is drawn. Printed gaps come out a little narrow; 0.1 mm gives a push-on fit. Below zero it is drawn tighter than the rim.
mm
A 45° bevel on both ends of the filament hole, so the end finds its way in.

More for the workshop

  1. Filament guide

    A push-on clip with a guide ring, cut to your sheet or to a 2020 extrusion.

    What you need A calliper for the sheet, or a 2020 extrusion, and your filament size.

    Try your numbers

  2. Desiccant core

    A silica-gel core for the hole in your spool, cut to the spool and to the beads you bought.

    What you need A calliper for the hole in the middle of the spool and the width of the spool beside it, and the bead size on your bag of silica gel.

    Try your numbers

  3. Remaining-filament gauge

    A flat gauge that reads the grams and metres left on your spool, with a scale worked out from your spool.

    What you need A ruler or calliper for an empty spool, a new one and its label, and your nozzle size.

    Try your numbers

Similar parts: Clips · Filament spool

See all 13 in Workshop and filament

Reviews

No reviews yet.

Reviews come from subscribers who have downloaded this part.